
SeaNav “Autoroute” lets you quickly generate a route between end points based on depths and obstacles. Just set the start and end points and tap “autoroute”.
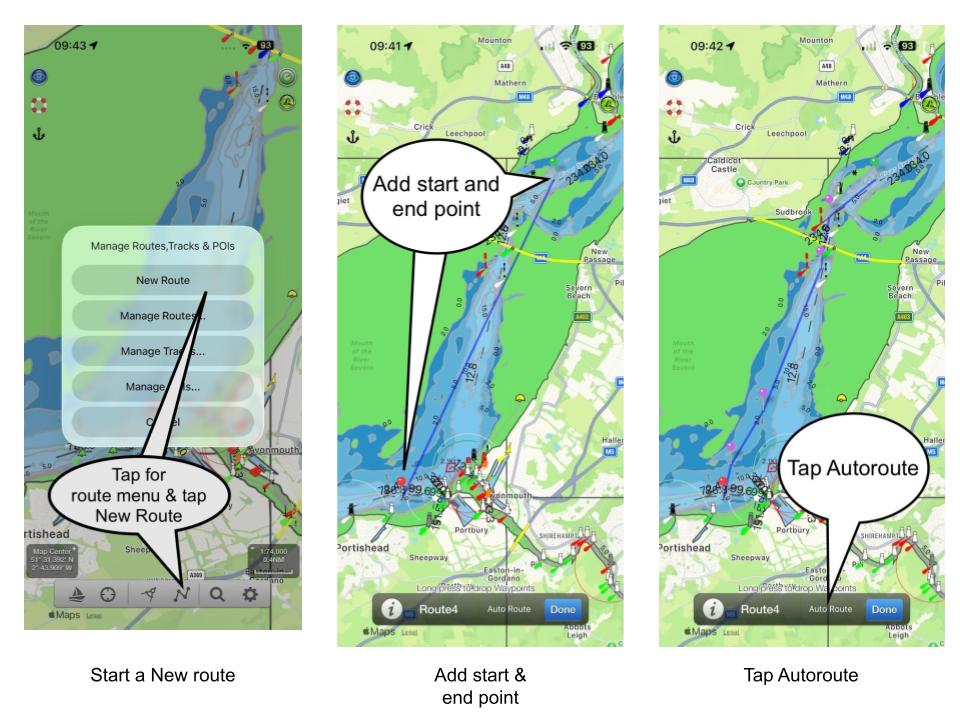
Most times these will match what an experienced navigator would manually place. Always check the suggested route for safety before following it. Autoroute is a planning tool and not a replacement for human judgement.
You can drag and drop waypoints to customise the generated route.
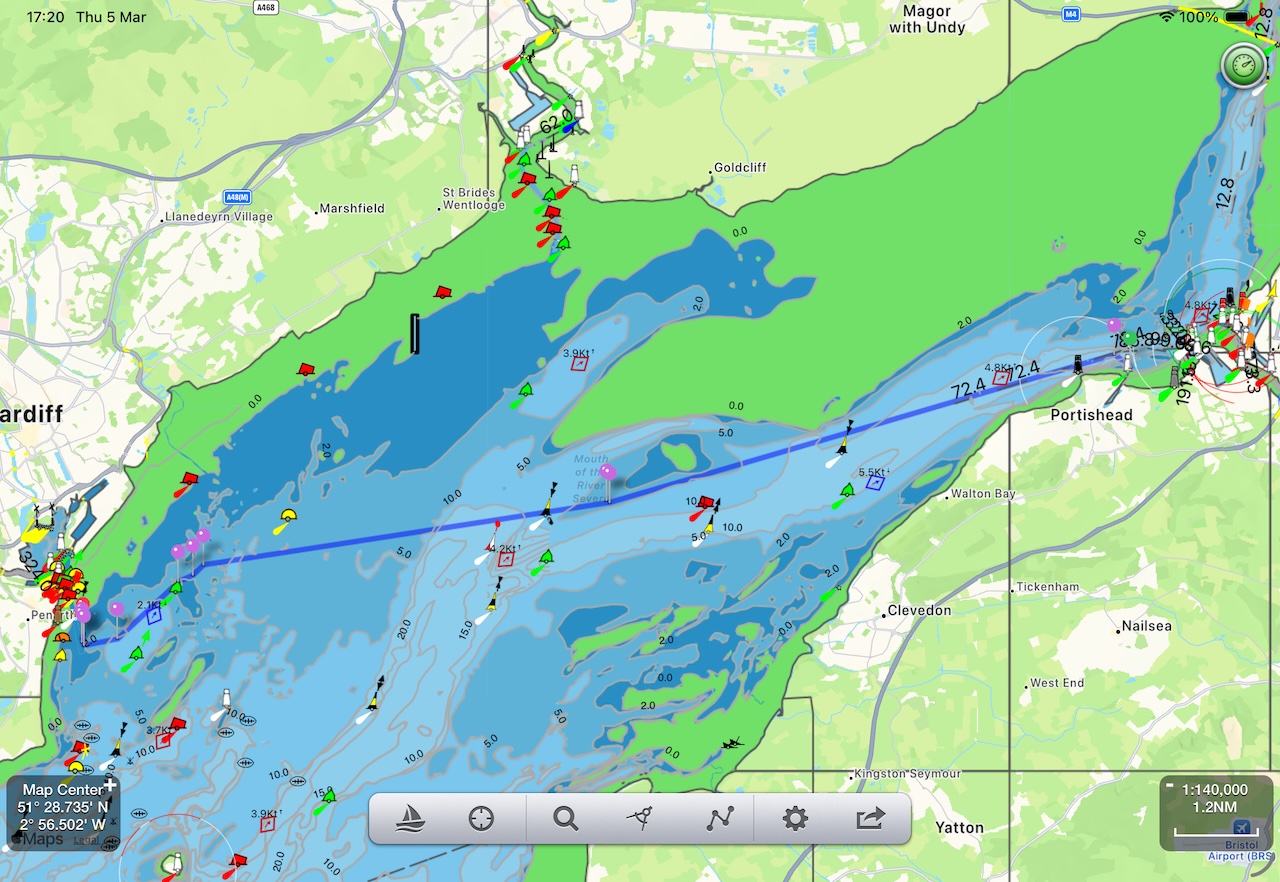
You can always tap autoroute again to have another go. Here is one we made earlier for a route from Portishead to Cardiff in the Bristol Channel. Spot on.
Sometimes autoroute can fail to find a route due to shallow depths, obstacles, narrow passages or even make a crazy route. Humans are still better than machines – thankfully. Moving the endpoints into deeper water, breaking the route down into shorter sections or moving the end points nearer together and re-tapping autoroute can solve this in most cases. If you are near the ICW on the East coast of the US, Autoroute will offer to use that.
Bridge narrows, lock entrances, and very tight tidal gates are places where chart data precision and autoroute resolution can conflict. The right approach is to place a manual waypoint at the exact gate/gap. autoroute then handles each open-water segment on either side.
Autoroute will ask for any missing charts for a route if you haven’t already downloaded them. This is a great way of making sure you have all the charts you need for offline use for a passage.
Please note:
- SeaNav autoroute is designed for open water routes and the Intracoastal Waterway (ICW) in the US. For the ICW we use Bobs423 ICW Tracks & Routes to help inform the routes. autoroute will not handle very narrow channels like canals & inland waterways.
- Routes can be shared and exchanged as GPX files for use with other Chart Plotters and by other SeaNav users.
- The SeaNav autoroute is based on the lowest astronomical tide. It does not take tides or tidal streams into account. Similarly SeaNav Autoroute does not look at weather or wind.
- As always, the captain takes full and sole responsibility for his vessel in using routes from SeaNav. Tides, weather, pilot guides and notes to navigation should be consulted.
Here is a step by step guide to creating a route including the ICW on the East coast of the US. Tap the route button at the bottom of the screen and select “New route”. You can also long press anywhere on the screen and tap “Start new route from here”. We are starting in open water but our destination is inland on the ICW.
Long Press on the chart to add the Start and end points for your route
Next tap “Auto Route”
In this case Autoroute cannot find an open sea route but it spots there is an ICW one so it offers the ICW tracks. Tap “Get Tracks for the ICW”. If you have previously done this, SeaNav Autoroute will automatically find the track for you without you having to go and get them again.
You will be taken to the SeaNav Bobs Tracks page. Scroll down to the link for the track for this section of the ICW. SeaNav will have automatically selected the correct track file for this route. If not you can browse the list of tracks via the link to Bobs Tracks download page.
The track will download and a Downloaded prompt will show at the bottom of the page. Tap Save and Save to files and then tap Open In
You will be shown a list of Apps to open the file with. SeaNav should be in the icon list – if not scroll to the right and select SeaNav after tapping More…Tap SeaNav
SeaNav will re-open and offer how to use the Bob’s track. Tap “Import as Track” (this is essential – you do not want a route created directly from the Bob’s track as this would have far too many waypoints).
The track will show on the map as a thin white dashed line – it will be the whole track from Norfolk to Southport. Next tap “Auto Route” again and SeaNav will use the track to guide the route.
Now you have a route
You can give the Route a name (type over Route2) if you want to now or edit it later via Manage Routes. Tap Done and you can now use the route. Tap the Sailboat icon bottom left to start sailing it.
You can hide the white track by tapping the Routes menu, Selecting Manage Tracks and turning off the Norfolk to Southport track. When you start sailing the route the SeaNav HUD will give you the distances and a continuous update ETA to your next waypoint and to the end of the route based on your current speed. You can also check the total length of the route via Manage routes.